The Drowned City
NEW5-player dungeon

The Drowned City

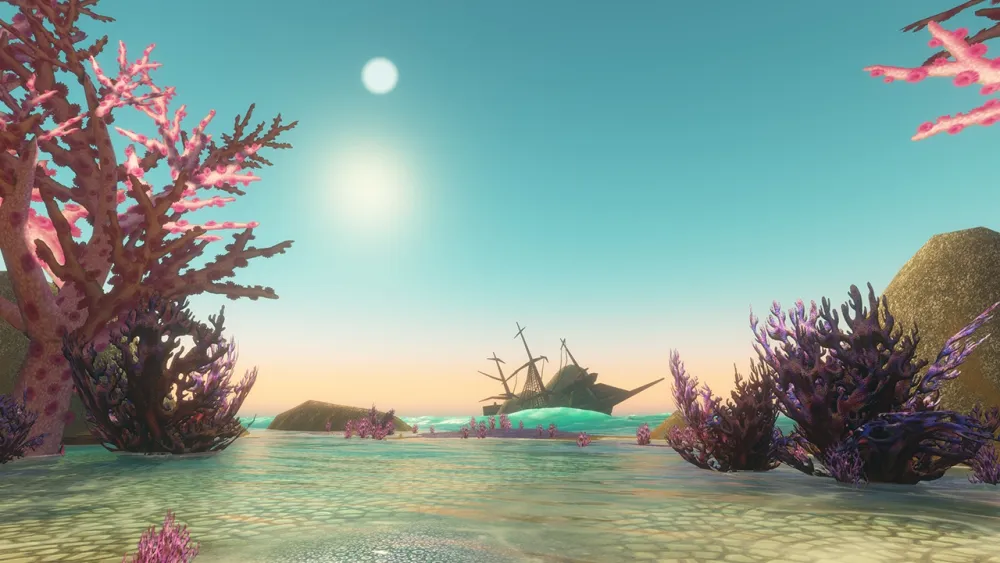
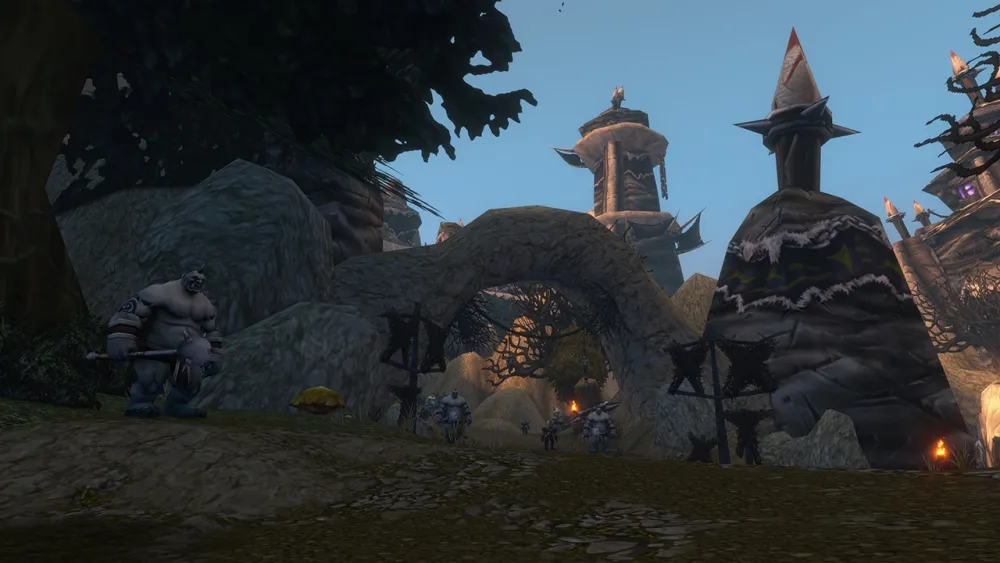
Ancient troll ruins have risen from the sea, bringing trolls and naga into newly exposed streets. This open-air dungeon changes from mist and rain into a full storm before the final confrontation.

Level 35–40Stranglethorn Vale5

Overview

Ancient troll ruins have risen from the sea, bringing trolls and naga into newly exposed streets. This open-air dungeon changes from mist and rain into a full storm before the final confrontation.

Official level range
35–40
Party size
5
Continent
Eastern Kingdoms
Zone
Stranglethorn Vale
Game version
World of Warcraft: Forever
Type
5-player dungeon

The level range is not a minimum entry requirement.

Entrance & access

Off the coast of Stranglethorn Vale, west of Grom’gol

Dive underwater off the coast west of Grom’gol to find the entrance. The underwater entrance is at Stranglethorn Vale 21, 28, south of Haunted Isle and west of Grom’gol.

Entrance coordinates
Stranglethorn Vale · 21, 28

Field briefing

Encounter lists may differ by version. Deathless Guardians is a journal label; the official encounter name is Deathless Marrow. Umbra and Gill are kept as rare encounters, while Zin’aka remains a historical, unclassified record.

Before you enter

  • Approach the underwater cave west of Grom’gol with the whole group. An underwater-breathing ability or consumable helps during the swim; the interior is open-air ruins.
  • Collect Krazek’s pirate quests in Booty Bay and your faction’s troll/naga quests before traveling. Plan poison removal for Min’loth’s serpent form.

Recommended party

  • Use one tank, one healer and three damage dealers. Bring an interrupt for Waterbolt Volley, crowd control for Var’Taka’s Priestesses and a poison-removal option for Min’loth.

Dangerous trash

  • Brinescale Sorcerer fears are dangerous near other packs: interrupt them and use a corner to gather casters. Focus Profane Necro before its summoned spirits build up. Keep knockbacks away from uncleared streets.

Route & objectives

  • Climb from the entrance cave into the main ruins. Clear both sides of Var’Taka’s area before engaging him and his Priestesses.
  • After Var’Taka and Captain Dreadrise, interact with their Glowing Pearls to remove the barriers. Keep the party together through the central pool and side areas.
  • Plan a long final encounter: Min’loth’s troll form is followed by a serpent form with fresh health. Check quest collections before leaving; rare and side encounters are not a mandatory route.

Boss guides

Zul’Alai

Abilities

Monstrous Slam
Stuns players near the boss.
Enrage
Increases the danger of the final part of the fight.

Before the pull

  • Clear the pull area and place the healer outside the boss’s melee space.

Fight plan

  1. Prepare for Monstrous Slam near the boss while keeping ranged players back.
  2. Save tank and damage cooldowns for the low-health Enrage rather than spending everything at the pull.

Tank

  • Plan a defensive for the dangerous finish and avoid adding nearby enemies.

Healer

  • Stay out of the close stun so you can support the tank during the Enrage.

DPS

  • Commit saved damage for the Enrage while respecting the nearby slam.

Common wipe causes

  • Putting the healer in melee or exhausting cooldowns early makes the finish harder.

Loot & rewards: Bloodslash Axe · Berserker Shackles

Var’Taka

Abilities

Harpoon
Pulls a targeted player toward the boss.
Arcing Smash
Hits targets in front of the boss.

Before the pull

  • Clear packs on both sides and assign control to the two Brinescale Priestesses.

Fight plan

  1. Kill or control the Priestesses before focusing Var’Taka, preventing their healing from extending the fight.
  2. Keep Arcing Smash away from the party and recover position after Harpoon pulls.
  3. Use the Glowing Pearl after the kill to remove the barrier.

Tank

  • Face the boss away from the group while maintaining control of active Priestesses.

Healer

  • Watch players pulled into melee and keep space away from the frontal attack.

DPS

  • Resolve the Priestesses first and leave the frontal area after a Harpoon pull.

Common wipe causes

  • Ignoring the Priestesses allows repeated healing while uncleared side packs restrict movement.

Loot & rewards: Harpoon of Command · Brinebelly Leggings

Captain Dreadrise

Abilities

Embrine
Traps a player inside an Abyssal Bubble.
Abyssal Bubble
A prison that damage dealers must destroy to free the trapped player.
Waterbolt Volley
Group damage that the party can interrupt.

Before the pull

  • Clear patrols around the captain and assign an interrupt for Waterbolt Volley.

Fight plan

  1. When Embrine traps a player in Abyssal Bubble, switch damage to the bubble promptly.
  2. Interrupt Waterbolt Volley and return to the boss after the trapped player is freed.
  3. Use the Glowing Pearl after the fight to open the barrier.

Tank

  • Keep the captain controlled while damage dealers free the trapped player.

Healer

  • Prepare group healing for a missed volley and watch the bubble target’s condition.

DPS

  • Free the bubble target first; coordinate interrupts instead of overlapping every interrupt.

Common wipe causes

  • Ignoring the bubble or allowing repeated volleys overwhelms a small party quickly.

Loot & rewards: Dreadfrost Saber · Frosty Blunderbuss

Deathless Marrow

Abilities

Bloodbolt
Damages the party during the encounter.

Boss mechanics

  • The encounter includes Deathless Sorcerer using Fireball, Deathless Watcher using Charge, and Deathless Guardian using Shield Slam.

Before the pull

  • Restore mana and agree to focus Deathless Marrow while controlling incoming adds.

Fight plan

  1. Maintain damage on Marrow while using cleaves and area damage to reduce the Deathless adds.
  2. Keep newly arriving enemies off the healer and heal the group through Bloodbolt.

Tank

  • Pick up new adds without dragging them through the healer’s position.

Healer

  • Expect group damage alongside the add tank’s damage; enter with resources for a sustained encounter.

DPS

  • Keep boss damage progressing; switching every player entirely to the continuing adds can extend the encounter indefinitely.

Common wipe causes

  • Abandoning boss damage while new adds continue to arrive can leave the party overrun.

Loot & rewards: Bloodspine Staff

Primeval Elemental

Loot & rewards: Heart of the Primeval · Waterlogged Burial Shroud

Min’loth the Serpent

Abilities

Drench
A heavy attack on the tank in troll form.
Deluge
Channelled group damage in troll form.
Fear
Fears a player in serpent form.

Before the pull

  • Restore resources for two forms and agree who can remove poison in the serpent phase.

Fight plan

  1. In troll form, prepare tank healing for Drench and group healing for Deluge.
  2. The first health bar ending starts a full-health serpent form. Continue the fight, cleanse poison and recover from Fear.

Tank

  • Reserve defensive resources for the second form rather than treating the first health bar as the finish.

Healer

  • Balance Deluge recovery against the mana needed for serpent-form poison damage.

DPS

  • Keep resources for serpent form and help with poison removal when your abilities allow it.

Common wipe causes

  • Celebrating after the troll form or spending every resource there leaves the second form unsupported.

Loot & rewards: Maw of Min’loth · Serpentbane Crown

Zin’aka

Quests & attunement

8 / 8

QuestQuest giverLocationFaction
The Only Good Brinescale...Commander Aggro’goshGrom’gol Base CampHorde
Shady SaltseersKrazekBooty BayBoth factions
The Saltseer CaptainKrazekBooty BayBoth factions
Take Two With WaterLoremaster Dibbs—Alliance
Magics of the Drowned CityBrother Nimetz—Alliance
Ancient Gurubashi SecretsArchmage Timear—Alliance
The Drowned CityKin’weelayGrom’gol Base CampHorde
Ancient Gurubashi IdolMazu’kon—Horde

The Only Good Brinescale...

Required level: 30

Slay Var’Taka in the Drowned City.

Shady Saltseers

Required level: 34

Collect 10 Voodoo Infused Artifacts from Saltseer pirates.

The Saltseer Captain

Required level: 34

Slay 3 Saltseer Coroners and Captain Dreadrise.

Take Two With Water

Required level: 30

Use the hide and charcoal to make rubbings of tablets in the Drowned City.

Magics of the Drowned City

Required level: 30

Collect 5 I’lalai Fetishes from trolls. This follows Nimetz’s Skullsplitter fetish chain.

Ancient Gurubashi Secrets

Required level: 34

Recover an Ancient Gurubashi Idol from the Drowned City.

The Drowned City

Required level: 30

Use hide and charcoal to make rubbings of tablets in the Drowned City.

Ancient Gurubashi Idol

Required level: 30

Recover an Ancient Gurubashi Idol from the Drowned City.

Loot & rewards

13 / 13

Deep-Dweller’s Grips

Umbra

Equipment

Gill’s Gills

Gill

Equipment

Berserker Shackles

Zul’Alai

Mail · Wrist · Equipment

Brinebelly Leggings

Var’Taka

Leather · Legs · Equipment

Video guides

Questions & answers

What level range is listed for The Drowned City?

The level range is 35–40. This range is not a minimum entry requirement.

Where is The Drowned City?

Off the coast of Stranglethorn Vale, west of Grom’gol

How do I enter The Drowned City?

Dive underwater off the coast west of Grom’gol to find the entrance. The underwater entrance is at Stranglethorn Vale 21, 28, south of Haunted Isle and west of Grom’gol.