Atrexis the Grave Knight
Abilities
- Disarm
- Disarms the primary threat target.
- Raise Dead
- Summons skeletons during the fight.
- Thrash
- Adds pressure through extra melee attacks.
- Strike
- Deals an immediate hit to the tank.
- Unholy Frenzy
- Increases the attack speed of the boss and allies.
Before the pull
- Clear nearby Kirin Tor Necromancers before catching Atrexis in the sewers.
Fight plan
- Let the tank collect the first skeletons before area damage. Remove the early adds, then focus the boss.
- Expect further Raise Dead casts and intense physical pressure from Strike, Thrash and Unholy Frenzy.
Tank
- Reserve control for skeletons and a defensive for heavy melee damage or a disarm.
Healer
- Prepare for tank bursts and keep healing while new skeletons are being collected.
DPS
- Wait for skeleton threat before area attacks, then focus Atrexis rather than extending the summon cycle.
Common wipe causes
- Pulling the nearby Necromancers as well creates several simultaneous sources of skeletons.
Loot & rewards: Bonebinder’s Signet · Graveweave Bindings · Gravespike Repeater
Arcane Anomaly
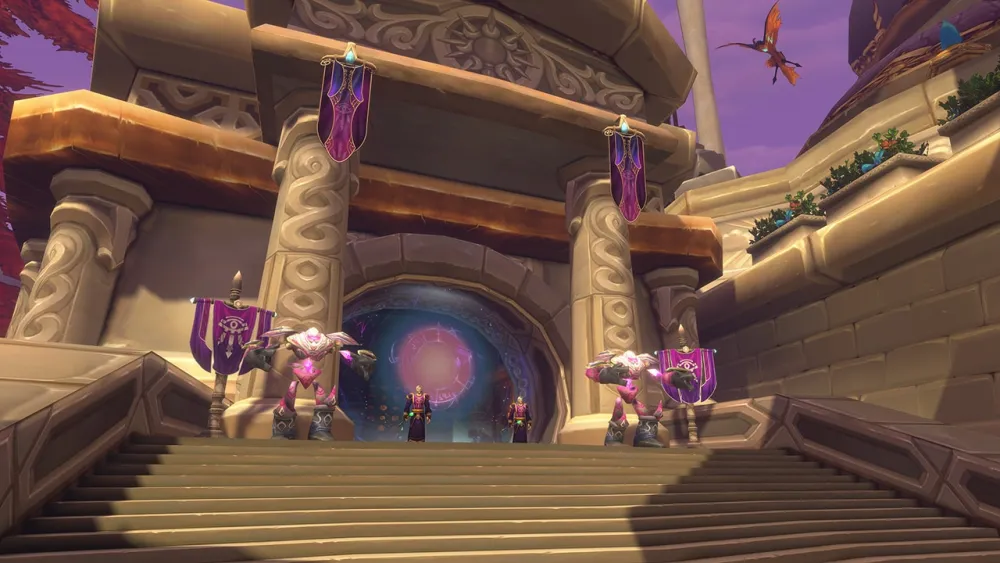
Location: City of Dalaran
Abilities
- Arcane Bolt
- Deals Arcane damage to a target.
- Focal Blast
- Channels a damaging blast directly forward.
Before the pull
- Clear space on Krasus Landing and plan to move around the boss’s rotating beam.
Fight plan
- Hold the boss while avoiding the clockwise or counterclockwise Focal Blast.
- Continue healing through Arcane Bolt and physical tank damage while the group moves.
Tank
- Keep a stable position away from the beam’s path without walking into surrounding enemies.
Healer
- Move with a safe gap while maintaining range on the tank; expect Arcane Bolt spikes.
DPS
- Follow the beam’s movement instead of cutting across it for extra uptime.
Common wipe causes
- Losing track of the beam while concentrating on the boss puts players in its sweep.
Loot & rewards: Runemender’s Seal · Mana-Warped Chain Shirt · Ephemeral Grips
Arcanic Enigma
Abilities
- Manamorph
- Transforms a player; this magic effect can be dispelled.
- Silence
- Silences players close to the boss.
- Summon Manalings
- Summons additional enemies during the fight.
Before the pull
- Mark both Mana Phantoms and assign an interrupt or stun before pulling.
Fight plan
- Kill the Mana Phantoms first and prevent Mana Burn.
- Dispel Manamorph, keep ranged players away from the silence area, and pick up summoned Manalings.
Tank
- Collect Manalings before they reach the healer and keep the boss stable.
Healer
- Stay outside the close silence and dispel Manamorph when a key party member is transformed.
DPS
- Interrupt the Phantoms rather than opening only on the boss; balance add damage with boss damage afterwards.
Common wipe causes
- Letting both Mana Burns complete can remove the resources needed for the rest of the fight.
Loot & rewards: Wand of Mana Concentration · Drape of Shifting Energy · Violet Sorcerer’s Robes
Unstable Sentinel
Location: Magus Commerce Exchange
Abilities
- Arcing Smash
- Hits enemies in a cone in front of the boss.
- Malfunction
- Releases repeated Arcane damage in a nearby area.
- Arcane Explosion
- Deals Arcane damage to nearby enemies.
Before the pull
- Remove nearby Angry Tomes and leave space to retreat from Malfunction.
Fight plan
- Turn Arcing Smash away from the party. When Malfunction begins, move out beyond its affected area.
- Regroup after the pulses and re-establish the tank’s position before committing melee damage.
Tank
- Keep the frontal attack away from the retreat path and use a defensive when taking unavoidable damage.
Healer
- Start at range and prioritize players leaving Malfunction without following them into danger.
DPS
- Melee should leave early enough to escape the pulses; a pre-emptive stun may prevent the cast.
Common wipe causes
- Greeding melee damage during Malfunction stacks party-wide healing pressure with tank damage.
Loot & rewards: Guardian’s Dualblade · Blueprint: Spinning Wheel · Unstable Crystalline Shoulderpads · Refractory Scaleguards
Mana Devourer
Location: Violet Hold
Abilities
- Debilitate
- Siphons mana from the target.
- Drain Vitality
- Deals Arcane damage immediately and over time.
Before the pull
- Clear the entire room near Violet Hold; remaining enemies join when the encounter starts.
Fight plan
- Start with mana restored and commit damage deliberately to shorten Debilitate’s repeated mana drains.
- Maintain the tank through Drain Vitality while healing group damage from Debilitate.
Tank
- Keep the boss isolated after the full room clear; watch the healer’s remaining resources.
Healer
- Use efficient healing and plan for mana loss; do not enter with only enough mana for an ordinary pull.
DPS
- Use non-arcane damage options and avoid extending the fight through missed target focus.
Common wipe causes
- Leaving room trash alive or starting low on mana combines extra enemies with resource pressure.
Loot & rewards: Spine of the Devourer · Manascale Treads · Slitherwrap Girdle
Fel Ancient
Location: City of Dalaran
Abilities
- Entangle
- Roots nearby enemies and periodically deals Nature damage.
- Fel Timbers
- Strikes near a target and leaves damaging poisonous fumes on the ground.
- Trample
- Deals physical damage to nearby enemies.
Before the pull
- Speak to Grindle Firespark to remove the barrier and identify safe ground outside green pools.
Fight plan
- Leave Fel Timbers pools as soon as they appear.
- If Entangle traps someone in a pool, use a root break or freedom effect and prioritize that player’s recovery.
Tank
- Move the boss only as needed to keep the melee area clear of pools.
Healer
- Watch rooted players in pools before returning to routine tank healing.
DPS
- Keep an escape route and help free a trapped player when your abilities allow it.
Common wipe causes
- Treating a root as harmless while standing in Fel Timbers can cause a rapid death.
Loot & rewards: Felbough Arm · Blightleaf Rope · Garb of Fallen Felbark
Lyn the Ignored
Use Tome of Dalaran at the summoning circle in the room with wooden planks over water on the east side of the Underbelly.
Location: Underbelly
Abilities
- Curse of Thorns
- Curses a target, giving its attacks a chance to hurt itself.
- Raise Dead
- Summons two skeletons.
- Shadow Bolt Volley
- Fires Shadow missiles at nearby enemies.
Before the pull
- Bring Tome of Dalaran to the sewer summoning circle and restore resources before using it.
Fight plan
- The tank collects skeletons from Raise Dead before the party uses area damage.
- Remove Curse of Thorns from attacking players when possible and heal Shadow Bolt Volley damage.
Tank
- Maintain control of new skeletons while monitoring the punishment from Curse of Thorns.
Healer
- Balance group healing from the volley with curse removal on the tank.
DPS
- Avoid feeding unnecessary attacks into Curse of Thorns and help control skeletons.
Common wipe causes
- Summoning before recovery or ignoring the curse increases both add and reflected-damage pressure.
Loot & rewards: Tendonscraper Dagger · Bonepile Gaze · Cartilage Shapers
Shade of the Archmage
Location: Purple Parlor, Violet Citadel
Abilities
- Arcane Bolt
- Deals Arcane damage to a target.
- Arcane Explosion
- Deals Arcane damage to nearby enemies.
- Bounding Mana
- Sends an orb toward a player; it returns along its path and damages anyone it hits.
- Evocation
- Rapidly restores mana while channeled.
- Mass Polymorph
- Transforms nearby enemies, temporarily preventing attacks and spellcasting.
- Slow
- Slows nearby enemies’ movement, attacks and spellcasting.
Before the pull
- Enter the Purple Parlor together and keep the fight inside the room.
Fight plan
- Move out of Bounding Mana’s outward and returning paths; reposition the boss away from the orb’s origin.
- Ranged players avoid the following close-range Arcane Explosion.
- At empty mana, expect Mass Polymorph followed by Evocation. Recover control and repeat the pattern after the transformation ends.
Tank
- Reposition for the orb without pulling Shade out of the room.
Healer
- Prepare for Arcane Bolt on the tank and the interruption caused by Mass Polymorph.
DPS
- Watch both passes of the orb and leave the short-range explosion area.
Common wipe causes
- Crossing behind an orb after its first pass is unsafe: it returns along its path.
Loot & rewards: Violet Sorcerer’s Mantle · Blueprint: Arcane Salvager · Ponderous Orb · Archmagister’s Faceted Pendant · Arcane Mote