01Faldrim Anvilmar
Localização: Anvilmar’s Rest
Habilidades
- Anvilmar’s Curse
- Abranda ataques e lançamentos, mas concede imunidade a venenos e sangramentos.
- Mind Blast
- Causa dano de Sombra ao alvo.
Guia em inglês · tradução em curso
Antes do combate
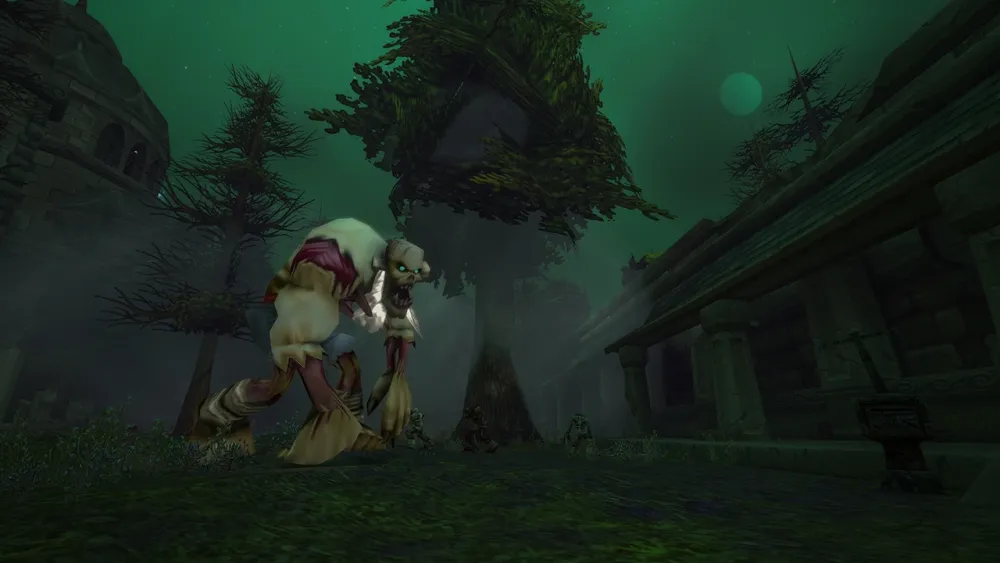
- Clear the undead along his patrol before pulling; leave room to fight without catching the next group.
Plano de combate
- Pull Faldrim into the cleared area. Watch for Mind Blast and Anvilmar’s Curse; use curse removal if available.
- After the kill, finish An Ancient Grudge with the Ghostly Attendant if you have it.
Tanque
- Catch the patrol alone and keep the fight away from nearby undead.
Curador
- Prepare for Shadow damage from Mind Blast; account for slower casting if the curse remains on you.
DPS
- Follow the tank’s pull and use your curse-removal tool rather than leaving the speed penalty active.
Causas frequentes de derrota
- Pulling the boss together with the surrounding undead leaves less room to recover from Mind Blast.
Saque e recompensas: Aetherwisp Bracers · Ephemeral Choker · Spiritwraith Drape
02Magmatus
Localização: Dark Iron Ingress
Habilidades
- Combust
- Incendeia um alvo, causando dano de Fogo inicial e contínuo.
- Fire Nova
- Causa dano de Fogo à volta do lançador.
Guia em inglês · tradução em curso
Antes do combate
- Remove the nearby patrolling Summoner and mark the Summoner accompanying the boss.
Plano de combate
- On the pull, damage dealers kill or control the accompanying Summoner while the tank separates Magmatus.
- Keep ranged players outside the close-range Fire Nova and heal the random Combust target.
Tanque
- Hold Magmatus away from the caster being killed and from ranged players.
Curador
- Watch Combust targets as well as the tank; remaining beside the boss adds avoidable Fire Nova damage.
DPS
- Resolve the Summoner first. Ranged damage should continue from outside Fire Nova range.
Causas frequentes de derrota
- Stacking on the tank or leaving both Summoners active combines close-range fire and caster damage.
Saque e recompensas: Fang of Magmatus · Flamefist Grips · Kindlegem Girdle
03Plunder
Localização: Hall of Thanes
Habilidades
- Charge
- Investe contra um alvo e atordoa-o brevemente.
- Crush Armor
- Reduz a armadura do alvo, acumulando até cinco aplicações.
- Knock Away
- Causa dano físico e empurra o alvo para trás.
Guia em inglês · tradução em curso
Antes do combate
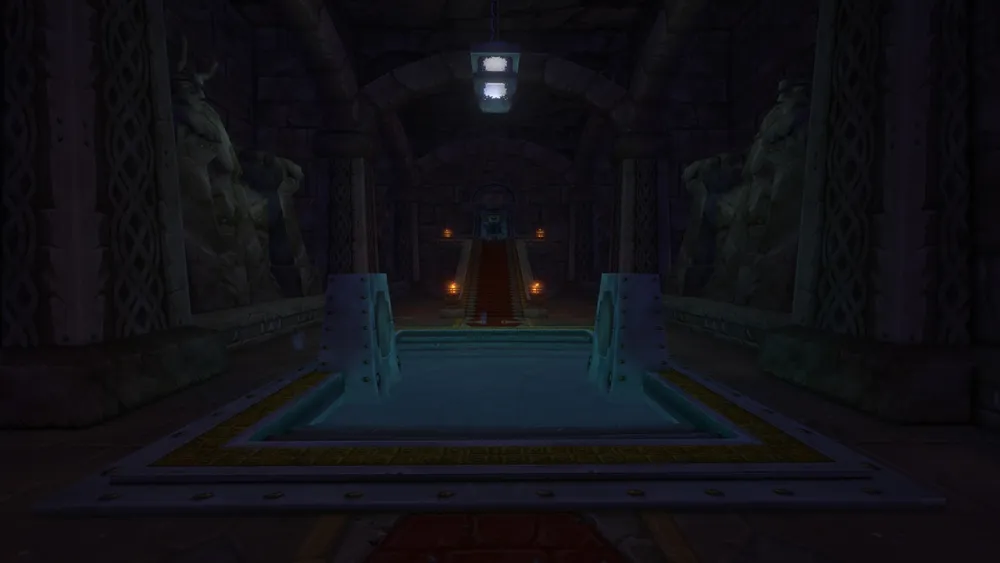
- Clear a corner off Plunder’s patrol, including the space behind each player.
Plano de combate
- Pull to the cleared corner and keep a wall behind the tank for Knock Away.
- Keep attacking from safe angles and restore the tank’s health after knockbacks and armor pressure.
Tanque
- Fight with your back toward a wall; recover position promptly if knocked away.
Curador
- Leave enough healing reserve for reduced armor and disrupted tank positioning.
DPS
- Stand where a knockback cannot launch you into a fresh pack; give the tank time to recover control.
Causas frequentes de derrota
- Fighting in the middle of an uncleared hallway can turn a knockback into an extra pull.
Saque e recompensas: Golemguard Chest · Golemheart Stave · Treads of the Protector Golem
04Durgen Dirgehammer
Localização: Reliquary of Kings
Habilidades
- Heroic Strike
- Um golpe corpo a corpo reforçado que gera muita ameaça.
- Intimidating Shout
- Amedronta os inimigos próximos, fazendo-os fugir.
- Rend
- Aplica um sangramento que causa dano físico periódico.
Guia em inglês · tradução em curso
Antes do combate
- Clear the outer Looters before pulling Durgen with his two Lesser Stone Golems.
Plano de combate
- The tank takes all three enemies. Control a golem if the party can, then focus Durgen to stop repeated fears.
- Heal through Rend and melee damage, then finish the surviving golems after Durgen falls.
Tanque
- Establish threat on both golems before the party commits damage; keep fear movement within cleared ground.
Curador
- Expect simultaneous boss, golem and Rend damage. Prepare a response before fear disrupts casting.
DPS
- Use the agreed focus on Durgen and avoid breaking a controlled golem.
Causas frequentes de derrota
- Leaving room-edge Looters alive lets a fear add another pack to the three-enemy pull.
Saque e recompensas: Direhammer Leggings · Durgen’s Crescent Axe · Robes of the Disgraced Thane