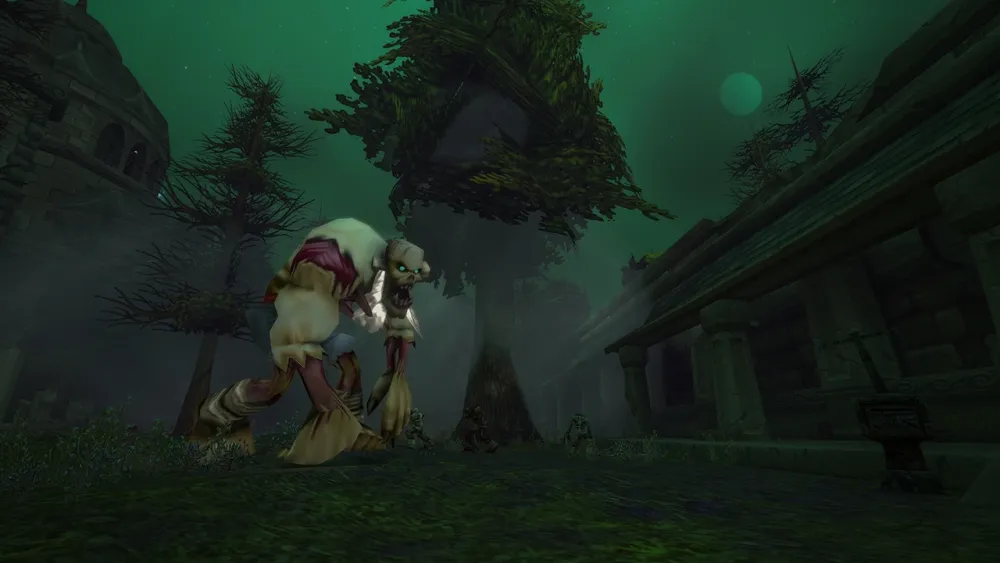
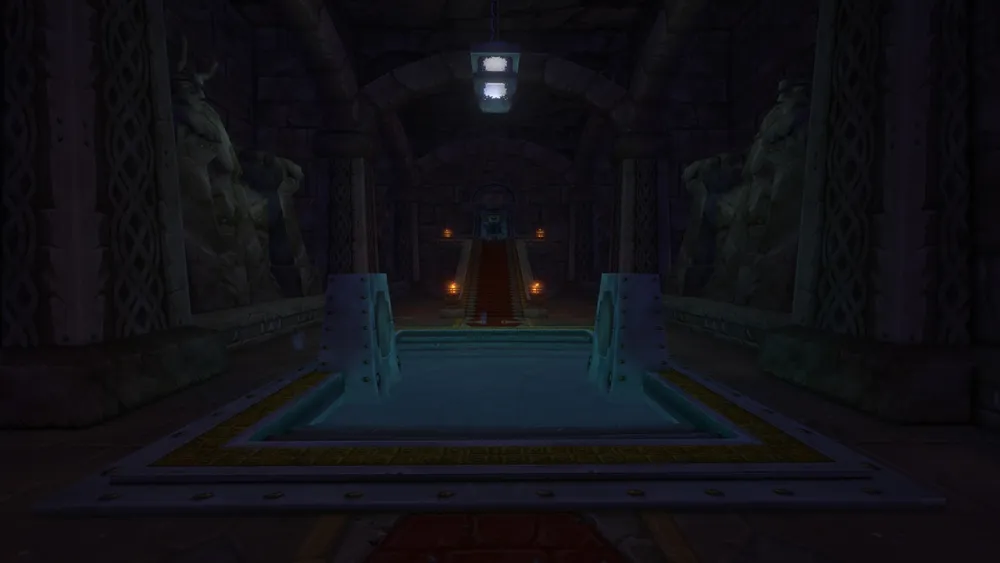
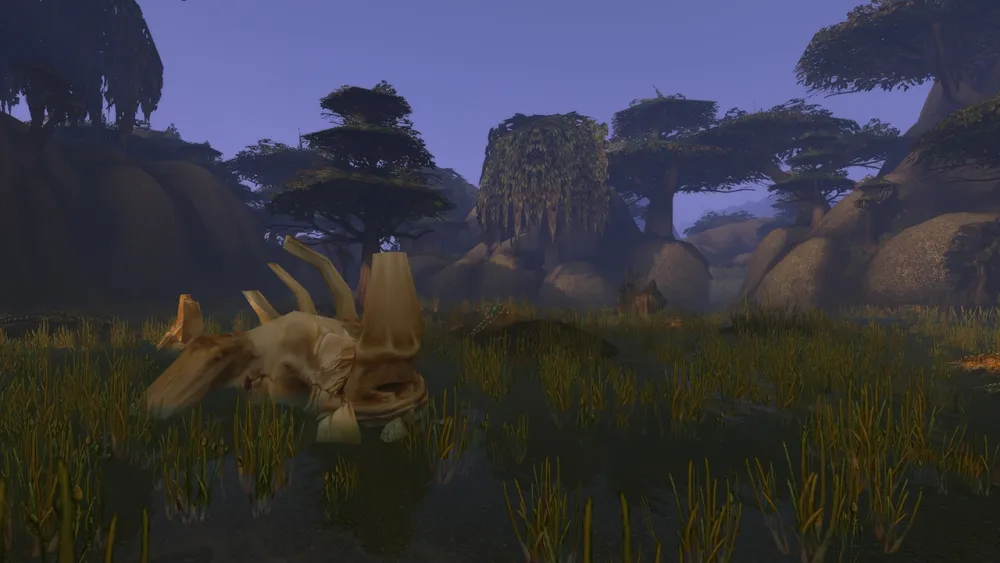
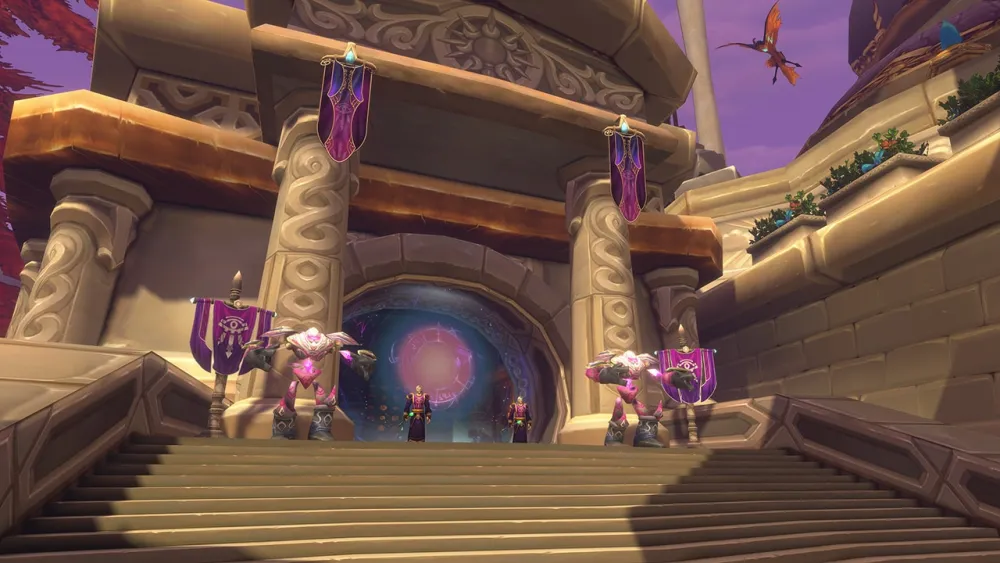
01Witherfang
Lieu: Ruins of Lordaeron
Capacités
- Leech Poison
- Draine la vie de la cible et soigne le lanceur.
Guide en anglais · traduction en cours
Avant le combat
- Clear the spider patrol path before engaging Witherfang and the two accompanying spiders.
Déroulement du combat
- Isolate the group in cleared ground and establish threat on all three targets.
- Focus Witherfang, remove Leech Poison when possible, then finish the accompanying spiders.
Tank
- Keep the pull away from crossing patrols and maintain control of the accompanying spiders.
Soigneur
- Watch the tank for Leech Poison and use poison removal if the group has it.
DPS
- Follow the boss focus; avoid pulling another spider patrol with area damage.
Causes fréquentes d’échec
- Starting in the patrol path can add fresh spiders while poison is already pressuring the healer.
Butin et récompenses: Atrophic Girdle · Segmented Spider Leg · Witherbite Bracers
The Baron
Capacités
Guide en anglais · traduction en cours
- Knockout
- A heavy hit followed by a stun on the tank.
Guide en anglais · traduction en cours
Avant le combat
- Clear the soldiers guarding the hallway and enter with the tank near full health.
Déroulement du combat
- Tank The Baron alone and prepare for Knockout’s burst followed by a stun.
- Use available stuns to reduce incoming pressure; restore the tank before the next dangerous hit.
Tank
- Use a defensive before a dangerous health dip; do not rely on acting while stunned.
Soigneur
- Keep the tank high enough to survive a burst followed by missed actions during the stun.
DPS
- Coordinate stuns and keep damage on the isolated boss.
Causes fréquentes d’échec
- Letting the tank sit at low health before Knockout leaves no recovery window.
Butin et récompenses: Meathook Slicer · Abomination Bones · Leftover Abomination Skin
Viktor the Vile
Capacités
Guide en anglais · traduction en cours
- Leech Poison
- Poisons the tank during the encounter.
Guide en anglais · traduction en cours
Avant le combat
- Clear the house southwest of Lordamere Overlook and restore mana before using the chimney.
Déroulement du combat
- Handle five waves of enemies without assuming there will be time to drink between them.
- When Viktor arrives, let the tank establish threat, then focus him and handle Leech Poison.
Tank
- Pick up each new wave before it reaches the healer; save a tool for Viktor’s arrival.
Soigneur
- Use efficient healing through the waves and preserve resources for the boss at the end.
DPS
- Kill wave targets together and allow the tank to collect newly arriving enemies.
Causes fréquentes d’échec
- Starting the event with low mana or spending everything on early waves leaves the final boss unsupported.
Butin et récompenses: Vileblood Scimitar · Bloodied Chestwraps · Vilewalkers
The Abandoned
Entrez dans Market Street depuis Lordamere Overlook et vainquez trois vagues pour déclencher la rencontre de la statue.
Lieu: Market Street
Capacités
- Chilled
- Ralentit les déplacements et augmente l’intervalle entre les attaques.
- Frost Nova
- Inflige des dégâts de Givre aux ennemis proches et les immobilise.
- Life Drain
- Draine la vie de la cible et soigne le lanceur.
Guide en anglais · traduction en cours
Avant le combat
- Clear Market Street around the statue before approaching to start the event.
Déroulement du combat
- Defeat the three waves, then let the tank pick up The Abandoned.
- Respond to Frost Nova roots and use a stun as Life Drain starts. Melee attackers must account for the Chilled effect.
Tank
- Keep the encounter on the cleared space rather than chasing through nearby packs.
Soigneur
- Reserve healing for Life Drain and avoid putting yourself unnecessarily close to Frost Nova.
DPS
- Save a stun for Life Drain; do not start the event before the group is ready.
Causes fréquentes d’échec
- Beginning the statue event with nearby packs alive combines wave pressure with extra enemies.
Butin et récompenses: Scepter of the Abandoned · Grip of Fear · Rotmender’s Leggings
Bjork
Capacités
Guide en anglais · traduction en cours
- Anti-Magic Shield
- Briefly protects Bjork against magic damage.
Guide en anglais · traduction en cours
Avant le combat
- Clear the nearby ghouls and catch Bjork’s patrol separately.
Déroulement du combat
- Hold the boss in the cleared area and watch for Anti-Magic Shield.
- Delay major magic damage until the short shield ends, then continue the fight.
Tank
- Avoid moving the fight into the dense ghoul packs beside the patrol.
Soigneur
- An isolated pull is easier to sustain than Bjork combined with nearby ghouls.
DPS
- Watch the shield before committing magic burst cooldowns.
Causes fréquentes d’échec
- Area attacks into nearby ghouls turn a straightforward patrol pull into a much heavier fight.
Butin et récompenses: Corpse Chopper · Bonerust Leggings · Tuskwrap Belt
Rath’mael
Lieu: Lordaeron Graveyard
Capacités
- Fire Shield
- Flamestrike
- Brûle une zone ciblée et y laisse des dégâts persistants.
Guide en anglais · traduction en cours
Avant le combat
- Clear the graveyard space and identify where the group can move during Flamestrike.
Déroulement du combat
- Keep the boss in the cleared space. Move away from the selected Flamestrike area as the cast begins.
- Use a stun to prevent a cast when available; leave the burning ground even after the first hit.
Tank
- Move the boss and yourself clear of the fire without dragging him into other enemies.
Soigneur
- Keep yourself out of the ground effect so you can continue healing moving players.
DPS
- Save a stun for the cast and keep damage going from safe ground.
Causes fréquentes d’échec
- Standing in the residual fire after the initial impact adds continuing damage.
Butin et récompenses: Coldspire Staff · Mirror of Rath’mael · Rotmender’s Treads
Lordaeron Captain
Une rencontre rare.
Butin et récompenses: Haunting Blade